1. First Steps
Note
The latest version of this manual and related resources can always be found on our website at the following address:
1.1. About this Chapter
This chapter provides instructions for getting the the A31 µQ7 EVK running after opening the box.
1.2. Required Tools
- PZ1 (Pozidriv) screwdriver
1.3. Steps for Setting up the EVK
1.3.1. Mount the Thermal Pad
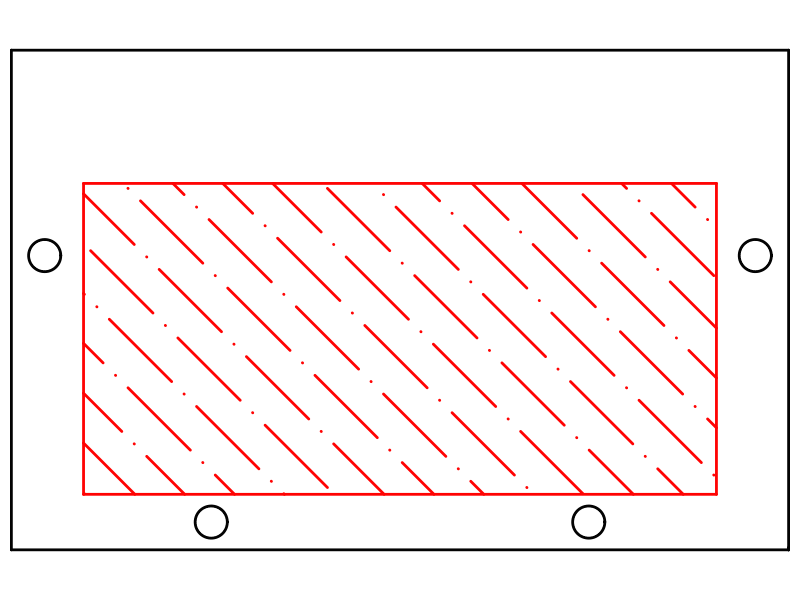
Peel off the protective foil on one side and mount the thermal pad as shown below on the heatsink. Place it close to the holes on the left without overlapping them.
Now, peel off the protective foil off the other side.
1.3.2. Mount Module and Heatsink
Insert the A31 µQ7 module at a 45 degree angle into the connector in the base board. Once fully inserted, push it down until it rests on the standoffs.
Place the heatsink on the module and screw it down very gently using four screws of 10mm length.
1.3.3. Mount the Fan (optional)
Note
The fan is only neccessary in high ambient temperatures. Under normal conditions, the A31 µQ7 operates passively cooled.
Place the fan on the heatsink and screw it down using four 19 mm long screws.
1.3.4. Insert SD Card & Power Up
Insert the enclosed SD card into the slot on the base board. The slot is marked with the SD logo.
Connect the power supply to the base board.
Press the “Power” button on the base board. The module will boot up. You will see the boot progress and get a login prompt on the RS-232 interface and on an HDMI monitor (if connected).
For further details, see the sections 2.4 Booting from an SD Card, 2.3 Powering the Board and 2.2 Board Layout Overview.


